
Tools
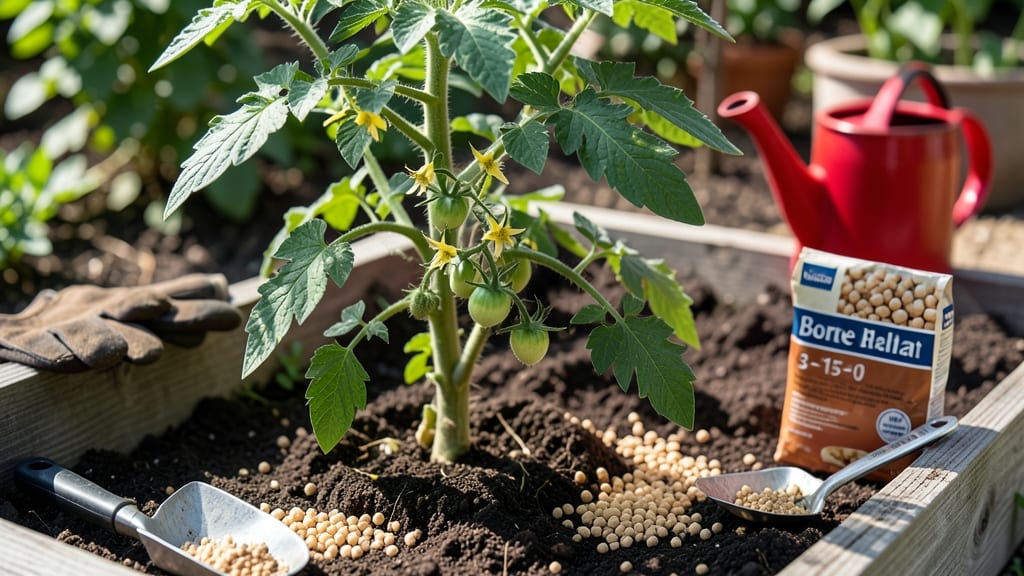
To use bone meal in your garden effectively, start by mixing it into the soil before planting phosphorus-loving crops like tomatoes, peppers, or flowers—this jumpstarts root growth and flowering.
Struggling to get your plants to thrive? Bone meal—a natural, nutrient-rich fertilizer—can transform weak roots and sparse blooms into a lush, productive garden in weeks. But how do you use it correctly to avoid overdoing it or harming your plants?
This slow-release fertilizer is packed with phosphorus, the key nutrient for strong roots and abundant blooms. Unlike synthetic fertilizers, bone meal breaks down over time, feeding your plants exactly what they need without the risk of burning.
But timing and application matter—too much too soon can backfire, leaving you with stunted growth or even yellowing leaves.
In this guide, I’ll walk you through the fastest, safest ways to use bone meal, from soil prep to application rates, so you can boost your garden’s health without the guesswork.
Best practices for applying bone meal to improve root and flower growth
Bone meal is one of my go-to organic fertilizers for boosting root development and flower production in the garden. Packed with phosphorus (P), it helps plants establish strong roots and produce abundant blooms—perfect for vegetables like tomatoes and peppers, or flowering plants such as roses and petunias.
The key to success lies in timing, application method, and knowing which plants benefit most.
Unlike synthetic fertilizers, bone meal releases nutrients slowly, making it ideal for long-term soil enrichment. But applying it incorrectly can lead to nutrient imbalances or even harm your plants. To get the best results, focus on pre-planting soil prep and targeted applications during critical growth stages.
Let’s dive into the step-by-step process to maximize its benefits without overdoing it.
Before applying bone meal, prepare your soil by testing its pH level. Bone meal works best in slightly acidic to neutral soil (pH 6.0–7.0). If your soil is too alkaline, the phosphorus in bone meal won’t be as available to plants.
Amend the soil with compost or sulfur if needed, and till it to a depth of 6–8 inches for even distribution.
How to Apply Bone Meal in Your Garden
- 1 Choose the Right Time: Apply bone meal 2–3 weeks before planting for root crops or at planting time for flowering plants. Avoid applying it during active flowering unless you notice phosphorus deficiency signs like weak stems or sparse blooms.
- 2 Determine the Right Amount: Use 1/4 to 1/2 cup per 10 sq ft for general soil enrichment or 2 tablespoons per planting hole for individual plants. Overapplying can lead to phosphorus buildup, which may harm beneficial microbes in the soil.
- 3 Apply Evenly to Soil: Sprinkle bone meal evenly over the soil surface and lightly rake or till it in to a depth of 2–3 inches. For container plants, mix it into the top 2 inches of potting soil before planting.
- 4 Water Thoroughly: After application, water the soil deeply to activate the fertilizer and help it dissolve. This step is crucial for making phosphorus available to plant roots immediately.
- 5 Monitor Plant Response: Look for signs of improvement, such as stronger stems, more vigorous foliage, and increased flower production within 4–6 weeks. If plants show signs of nitrogen deficiency (yellowing leaves), supplement with a balanced organic fertilizer.
For container gardens, bone meal is especially useful because it helps roots grow into limited soil space. Mix 1 tablespoon per gallon of potting mix for flowering plants like petunias or geraniums. This ensures they have enough phosphorus to produce long-lasting blooms throughout the season.
Timing is everything when using bone meal. In spring, apply it before planting root crops like carrots or beets to encourage deep root penetration. For summer-blooming plants, a mid-season application can give them a second burst of energy for extended flowering.
Avoid applying bone meal in late summer or fall, as plants enter dormancy and won’t utilize the nutrients efficiently.
Not all plants benefit equally from bone meal. Phosphorus-loving plants like tomatoes, peppers, roses, and bulbs (such as tulips and daffodils) thrive with its application. However, avoid using it on leafy greens like lettuce or spinach, as they require more nitrogen than phosphorus.
Always check the NPK ratio of your fertilizer to match your plants' needs.
One common mistake gardeners make is overapplying bone meal, which can lead to phosphorus toxicity. Symptoms include stunted growth, dark green leaves, and even root burn.
To prevent this, follow the recommended rates and avoid applying bone meal more than once per growing season unless you’re growing heavy feeders like tomatoes or peppers.
To keep your garden thriving, combine bone meal with other organic amendments like compost or kelp meal for a balanced nutrient profile. This ensures your plants get the nitrogen and potassium they need alongside phosphorus.
With the right approach, bone meal can be a game-changer for root and flower growth in your garden!
Bone meal vs. other fertilizers: when to use it and when to avoid it
Bone meal is a powerhouse for gardeners focused on root development and flowering plants, but it’s not a one-size-fits-all solution. Packed with 10% phosphorus (NPK 0-10-0), it’s ideal for tomatoes, peppers, and roses, but its slow-release nature and lack of nitrogen mean it’s not always the best choice.
Let’s break down when to reach for bone meal—and when to skip it for alternatives like compost, fish emulsion, or synthetic blends.
One of bone meal’s biggest strengths is its ability to boost phosphorus levels quickly, which is critical for plants struggling to establish roots or produce blooms. However, its slow-release formula means results take time—unlike fast-acting fertilizers like fish emulsion, which deliver nitrogen and phosphorus immediately.
For leafy greens or nitrogen-hungry plants, bone meal alone won’t cut it, and pairing it with a nitrogen-rich fertilizer is key.
Before deciding, consider your garden’s needs. If your soil test shows low phosphorus and you’re planting phosphorus-loving crops, bone meal is a game-changer.
But if your plants need a quick nitrogen boost (like leafy veggies) or you’re dealing with poor soil structure, alternatives like compost or balanced synthetic fertilizers may be better.
Bone Meal: Pros & Cons
✅ Pros
- High phosphorus (0-10-0) for roots and blooms
- Organic and slow-release, reducing burn risk
- Great for bulbs, flowers, and fruiting plants
- Improves soil structure over time
❌ Cons
- No nitrogen, can cause deficiency
- Slow-release—takes weeks to see effects
- Overuse risks phosphorus buildup in soil
- Not ideal for leafy greens or nitrogen-heavy plants
For quick results, synthetic fertilizers like 10-10-10 blends or fish emulsion deliver nitrogen and phosphorus faster, making them better for seedlings or fast-growing crops. Meanwhile, compost offers a balanced, long-term nutrient boost without the risk of over-fertilizing.
If your goal is soil health over immediate growth, compost is the safer bet.
Timing matters too. Apply bone meal 2-3 weeks before planting phosphorus-loving crops, or mix it into the soil at planting time. Avoid using it during active leaf growth—that’s when nitrogen is critical.
For container gardens, a 1/4 cup per 5-gallon pot is plenty, while in-ground gardens need 1/2 cup per 10 sq ft. Always water it in to prevent root burn.
Ultimately, bone meal shines for root development and flowering, but it’s not a standalone solution. Pair it with compost for nitrogen or use it alongside a balanced fertilizer for well-rounded nutrition.
And if your plants show yellowing leaves (a nitrogen deficiency sign), switch to a greener fertilizer like alfalfa meal or blood meal.
🌱