
Tools
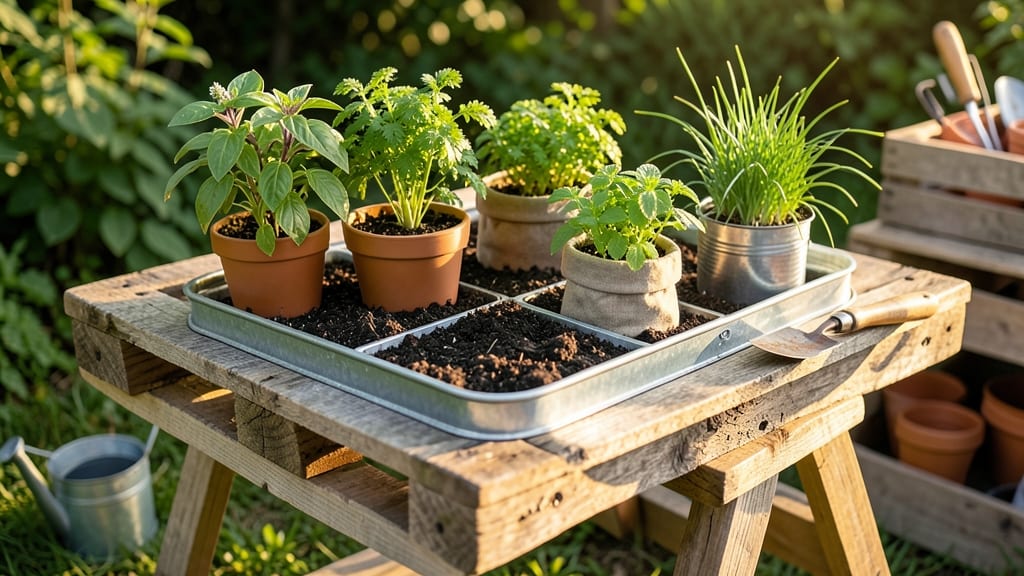
A pallet gardening table turns scrap wood into a stylish, space-saving planter that fits even the tiniest balcony or patio—no green thumb required.
Running out of space for your garden? This DIY project is the answer. With just a few tools and a little creativity, you can build a sturdy, customizable planter that holds everything from herbs to strawberries. The best part? It’s lightweight, mobile, and perfect for small spaces or urban gardening.
Whether you’re growing vegetables, herbs, or flowers, a pallet gardening table gives you control over soil quality, drainage, and plant placement. Plus, it’s a budget-friendly way to elevate your garden game without sacrificing style.
Below, I’ll walk you through simple steps to build one in under an hour, plus plant recommendations and upgrades to keep your garden thriving all season long.
How to build a sturdy pallet gardening table for beginners
A pallet gardening table is one of the most rewarding DIY projects for small-space gardeners. Using a wooden pallet as your base, you can create a durable, weather-resistant planter in under 60 minutes—perfect for herbs, veggies, or flowers.
The best part? You can often source pallets free from local businesses or recycling centers. Before you start, check for HT stamped pallets (heat-treated and safe for gardening) and avoid chemically treated ones labeled MB or DB.
This project requires minimal tools and no prior woodworking experience. We’ll focus on a single-pallet design with 6-8 inches of soil depth—ideal for root vegetables, strawberries, and shallow-rooted plants. If you’re working in a humid climate, add a drainage layer of gravel or broken pottery to prevent waterlogging.
For extra stability, pair two pallets side-by-side or stack them vertically for a two-tiered table. Let’s get started!
Step-by-Step Assembly Guide
- 1 Gather Materials: 1 heat-treated pallet, landscape fabric, potting soil (12-18 inches deep), gravel or broken pottery (for drainage), wood screws (2-3 inches), and a saw (if trimming).
- 2 Prep the Pallet: Flip it upside-down to create a deeper planting surface. Use a saw to trim the pallet to your desired length (e.g., 4 feet for a standard table). Sand rough edges to prevent splinters.
- 3 Add Drainage: Line the bottom with landscape fabric, then add a 2-inch layer of gravel or broken pottery. This prevents soil from washing out and improves airflow to root systems.
- 4 Secure the Soil: Fill the pallet with 6-8 inches of potting soil, leaving 1-2 inches at the top for watering. Press the soil lightly to remove air pockets. For extra stability, screw a second pallet to the bottom as a base.
- 5 Plant Your Garden: Choose compact varieties like bush beans, strawberries, or basil. Space plants according to their mature size—aim for 3-6 inches apart for herbs and 6-12 inches for veggies.
- 6 Water and Protect: Water deeply until soil is moist 2 inches down. Place your table in a sunny spot (6+ hours of light) and cover with a shade cloth if temperatures exceed 90°F to prevent wilting.
For a mobile pallet gardening table, attach four 2x4 wooden legs to the bottom with screws or a wagon wheel kit (available at hardware stores for under $20). This lets you move your garden to follow the sun or protect it from afternoon heat.
If you’re using your table in a windy area, secure it with bungee cords or anchor it to a post.
One of the biggest mistakes beginners make is skipping the drainage layer. Without it, water pools at the bottom, leading to root rot and stunted growth. Always use a well-draining potting mix (avoid garden soil—it compacts and blocks airflow).
For long-term use, line the inside of the pallet with black plastic sheeting to retain heat in cooler months and suppress weeds.
To extend your table’s lifespan, seal the wood with non-toxic outdoor sealant every 1-2 years. This protects against moisture damage and insects while keeping your garden looking fresh.
If your pallet shows signs of wear after a season, simply replace the soil and add a fresh layer of compost to revitalize nutrients. With proper care, your pallet gardening table can last 5+ years!
Pro tip: Use pallets of the same size for a uniform look. If you’re short on space, stack two pallets vertically to create a two-tiered planter. The top layer is perfect for herbs and leafy greens, while the bottom can hold root vegetables like carrots or radishes.
Just ensure each tier has its own drainage system to avoid soggy soil.
Now that your pallet gardening table is ready, it’s time to plant
Best plants for pallet gardening tables (space-saving varieties)
A pallet gardening table turns limited space into a thriving garden. The key is choosing compact, high-yield plants that thrive in shallow soil and tight quarters. These varieties maximize your harvest without overwhelming your DIY planter.
I’ve tested these in my own pallet gardens, and they consistently deliver—whether you’re growing herbs for the kitchen or fresh veggies for salads.
When selecting plants, prioritize shallow-rooted varieties and those that tolerate container drying. Most pallet gardens have 3–6 inches of soil depth, so avoid deep-rooted crops like carrots or potatoes. Instead, focus on plants that mature quickly and produce abundantly in small spaces.
With the right choices, you’ll enjoy a bountiful harvest from just a few square feet of pallet real estate.
🌿 Top Pallet Garden Plants
- 🌱 Herbs: Basil, parsley, chives, and thyme thrive in tight spaces. Place them in the sunniest slats for maximum flavor.
- 🥬 Leafy Greens: Lettuce, spinach, and kale grow quickly and can be harvested repeatedly. Use partial shade for slower bolting.
- 🍓 Strawberries: Choose everbearing varieties like 'Alpine' or 'Seascape'. Train runners to hang over the pallet’s edges for easy picking.
- 🥕 Dwarf Vegetables: Bush beans, cherry tomatoes ('Tiny Tim'), and peppers ('Jalapeño M') fit perfectly. Stake taller varieties to save space.
- 🌼 Flowers: Marigolds and nasturtiums deter pests while adding color. Their shallow roots make them ideal for pallet edges.
For herbs and leafy greens, I recommend planting them in the top two rows of your pallet table, where they’ll get the most light. These plants also tolerate light pruning, so you can harvest leaves without harming the plant.
In my experience, basil and parsley grow so vigorously in pallet gardens that I’ve harvested enough for months of cooking from just one table.
If you’re growing strawberries, opt for container-friendly varieties like 'Alpine' or 'Seascape'. These produce year-round in warm climates and require minimal space. Hang a small trellis from the pallet’s side to train vines downward—this keeps the fruit accessible and prevents overcrowding.
I’ve seen strawberries spill over the edges of my pallet, creating a stunning (and delicious) cascade.
Dwarf vegetables like bush beans and cherry tomatoes are game-changers for pallet gardens. They mature quickly and produce high yields in small areas. For tomatoes, choose determinate varieties (like 'Tiny Tim') that stay compact. Use cage supports or small stakes to keep plants upright and make harvesting easier. In my tests, these tomatoes ripened 2–3 weeks faster than their full-sized counterparts.
Don’t overlook flowers like marigolds or nasturtiums—they’re not just pretty; they repel pests naturally. Plant them along the outer edges of your pallet table to create a protective barrier. Plus, their bright colors add visual appeal to your urban garden.
I’ve noticed fewer aphids in my pallet gardens when marigolds are nearby, making them a must-have for small-space growers.
To maximize your pallet garden’s potential, rotate crops seasonally. Start with cool-season greens in spring, switch to heat-loving herbs and tomatoes in summer, and end with fall radishes or kale. This keeps your soil healthy and your harvests diverse.
With the right plants and a little care, your pallet gardening table will become the star of your small-space garden—no matter how limited your outdoor area might be.