
Tools
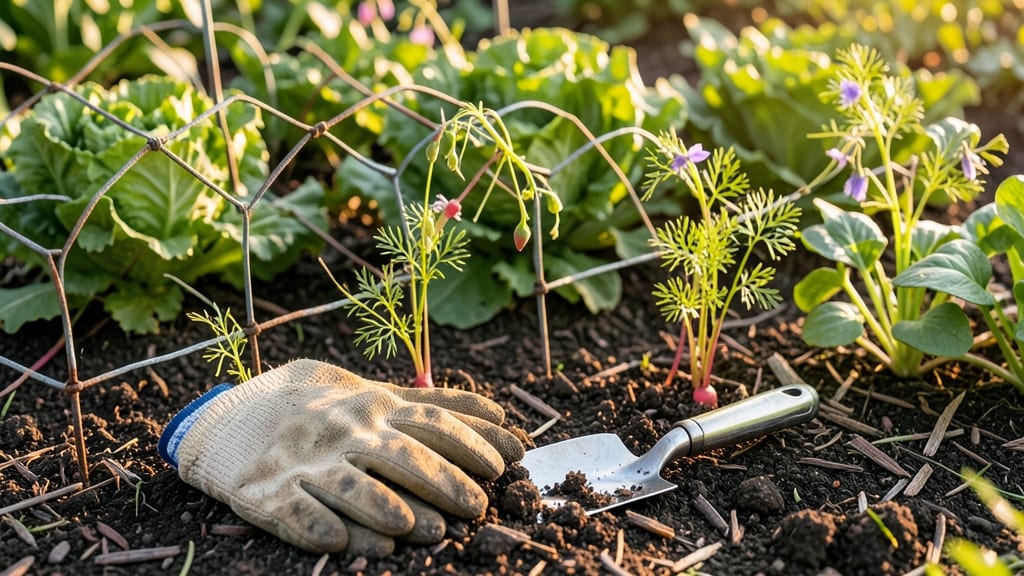
A chicken wire vegetable garden turns even the smallest plot into a fortress against pests while saving space and money.
Picture this: your 🥬 greens growing safely behind a simple wire barrier, no rabbits or deer in sight, and every inch of your yard working harder.
The best part? You don’t need fancy materials—just a roll of wire and a little planning to create a garden that’s both functional and stylish.
Whether you’re building raised beds, trellises for climbing plants, or protective cages, chicken wire gives you flexibility without breaking the bank. It’s the perfect solution for urban gardeners, small yards, or anyone tired of losing crops to hungry critters.
Below, I’ll show you exactly how to install it, which vegetables thrive in these setups, and the clever tricks that make your garden both productive and pest-proof.
How to build a chicken wire vegetable garden frame in 5 simple steps
Chicken wire is my go-to solution for creating flexible, budget-friendly garden frames that keep pests at bay while maximizing growing space. Whether you're working with a raised bed, in-ground plot, or even containers, this method adapts to any setup.
The key is balancing sturdiness with plant flexibility—chicken wire lets roots expand while deterring rabbits, squirrels, and other critters.
Before you start, gather your materials: a 1-inch or 2-inch mesh chicken wire (1-inch works best for most veggies), garden staples or zip ties, wooden stakes (4x4 posts work well), and a measuring tape. For raised beds, you’ll also need untreated lumber or cinder blocks to anchor the frame.
Pro tip: Cut the wire with heavy-duty scissors or bolt cutters for clean edges—this prevents sharp bits that could damage plant roots.
Step-by-Step Chicken Wire Garden Frame Construction
-
Step 1: Measure and Mark Your Garden Area
Use stakes and string to outline your garden’s dimensions. For a 4x4-foot raised bed, mark the perimeter with wooden posts every 2 feet—this creates sturdy anchor points for the wire.
-
Step 2: Bend the Chicken Wire into a Frame
Unroll the chicken wire and bend it into a rectangular shape matching your marked dimensions. Overlap the ends by 6 inches and secure with garden staples or zip ties. For extra height (e.g., 18 inches for tomatoes), fold the wire upward at intervals.
-
Step 3: Attach the Frame to Anchors
Wrap the wire around your wooden stakes or cinder blocks, securing it with zip ties every 12 inches. For in-ground gardens, bury the bottom 4 inches of wire to prevent digging pests. Use a mallet to tap stakes firmly into the ground.
-
Step 4: Reinforce Corners and Weak Spots
Add extra wire or metal mesh strips to corners and any sections that might sag. For container gardens, wrap the wire around the pot’s perimeter, leaving 2-inch gaps at the top for watering.
-
Step 5: Test Stability and Adjust
Gently push on the frame to check for wobbling. Add more stakes or wire if needed. For windy areas, bury the stakes deeper or tie the frame to a nearby post. Once secure, fill with soil and plant your veggies!
One of my favorite adaptations is using chicken wire to create mini raised beds in containers. Simply wrap the wire around a large pot (like a 5-gallon bucket) and secure it with zip ties.
This works perfectly for growing bush beans or compact lettuce varieties in small spaces. The wire keeps pests out while allowing roots to spread naturally.
For in-ground gardens, I recommend burying the bottom edge of the wire to deter burrowing animals. If you’re planting root vegetables like carrots or beets, avoid enclosing them completely—their roots need room to grow downward.
Instead, use the wire as a partial barrier or focus on above-ground crops like kale or swiss chard.
After assembling your frame, consider adding a mesh top for extra protection against flying insects like cabbage moths. Cut a piece of fine mesh (like hardware cloth) to fit over the top and secure it with clips or staples.
This is especially useful for brassicas like broccoli or cabbage, which attract pests early in their growth cycle.
Maintenance is minimal—just check the frame occasionally for rust or sagging wire. If you notice gaps, reinforce them with additional staples or wire. Over time, the chicken wire may rust, but it’s easy to replace just the affected sections.
For long-term use, opt for galvanized chicken wire, which resists corrosion better than standard wire.
This method has transformed my urban balcony garden into a pest-free paradise. Last summer, I grew cherry tomatoes and basil in a 3x3-foot wire frame, and not a single tomato was lost to squirrels.
The best part? The entire project cost less than $20 and took under an hour to assemble.
Ready to get started? Grab your chicken wire and a roll of zip ties—your vegetable garden’s new protective barrier is just five steps away! 🌱
Best vegetables to grow in chicken wire enclosures (and which to avoid)
Chicken wire enclosures create the perfect compact growing space for vegetables that stay small and productive. The key is selecting varieties that won’t outgrow their boundaries or struggle with restricted root zones. Leafy greens, herbs, and bush varieties thrive in these confined areas while keeping pests at bay naturally.
When planning your chicken wire vegetable garden, focus on plants with mature heights under 2 feet and shallow root systems. These crops maximize your space without requiring frequent pruning or expansion. The wrong choices—like sprawling squash or deep-rooted carrots—will quickly outpace your wire barriers.
Here’s my curated list of top performers that flourish in chicken wire enclosures, along with their ideal spacing and growth habits:
For herbs like parsley and cilantro, I recommend planting them in clusters along the edges of your enclosure. Their shallow roots and compact growth make them ideal candidates for wire-bound gardens. Just be sure to harvest regularly to encourage bushier foliage.
Avoid planting root vegetables like carrots or beets in chicken wire enclosures—their long taproots will struggle to penetrate the confined soil. Similarly, vining plants such as cucumbers or pole beans will quickly escape their boundaries, requiring constant pruning or expansion of your wire frame.
If you’re tempted to grow taller plants like indeterminate tomatoes or zucchini, consider adding a small trellis inside your enclosure. This way, you can still enjoy vertical growth without sacrificing the integrity of your wire barrier. Just ensure the trellis is secured tightly to the wire to prevent collapse.
With the right selections, your chicken wire vegetable garden can become a high-yielding, pest-resistant haven—perfect for small spaces or urban gardening. Start with these top performers, and watch how efficiently they transform limited real estate into a bountiful harvest! 🌱